
Improper installation of rented LED screens not only compromises aesthetics but also creates significant safety hazards. Common issues encountered during events include panels that are not securely locked, rigging points with insufficient load-bearing capacity, and cables obstructing fire exits or emergency pathways.
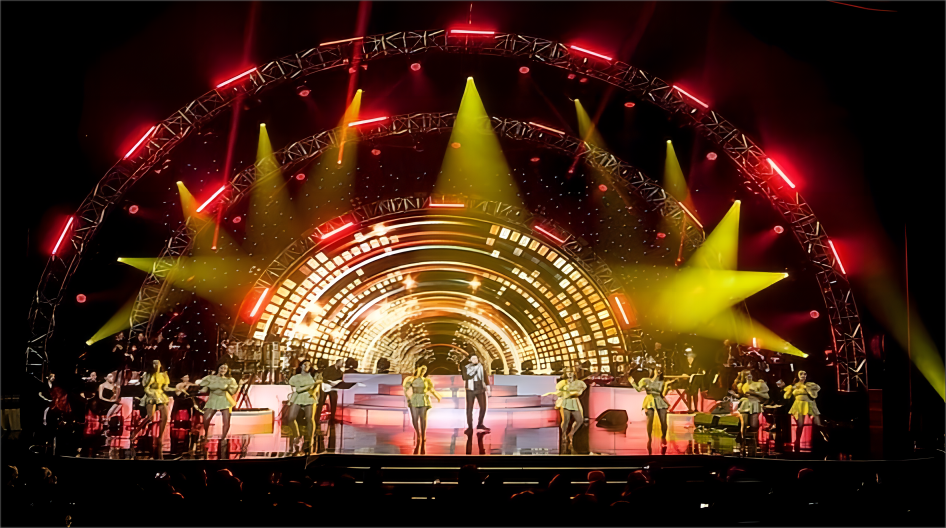
Pre-Installation Preparation: What Needs to be Planned?
A successful installation begins long before the first cabinet is unloaded from the truck. Here is what you need to arrange in advance:
① Site Analysis
Evaluate the venue size, audience viewing distance, ambient lighting conditions, and any structural constraints. These factors dictate the required screen dimensions, pixel pitch, and brightness levels.
② Calculating Screen Quantity and Cabling
Determine the number of LED cabinets required based on the total screen area—and use this to calculate the necessary power cables, signal cables, and control equipment. Do not leave this task until the day of the event.
③ Selecting the Installation Method Early
Decide whether the screen will be flown (rigged) or ground-stacked before arriving on-site. This choice will influence your structural requirements, rigging equipment, and safety planning.
④ Briefing the Team
Divide your staff into two groups: one for on-site installation and the other for system operation. Both teams must be familiar with the specific screen model before the event begins—not while it is already underway.
For outdoor events, always check the weather forecast. High winds can affect structural load calculations and the choice of installation method.
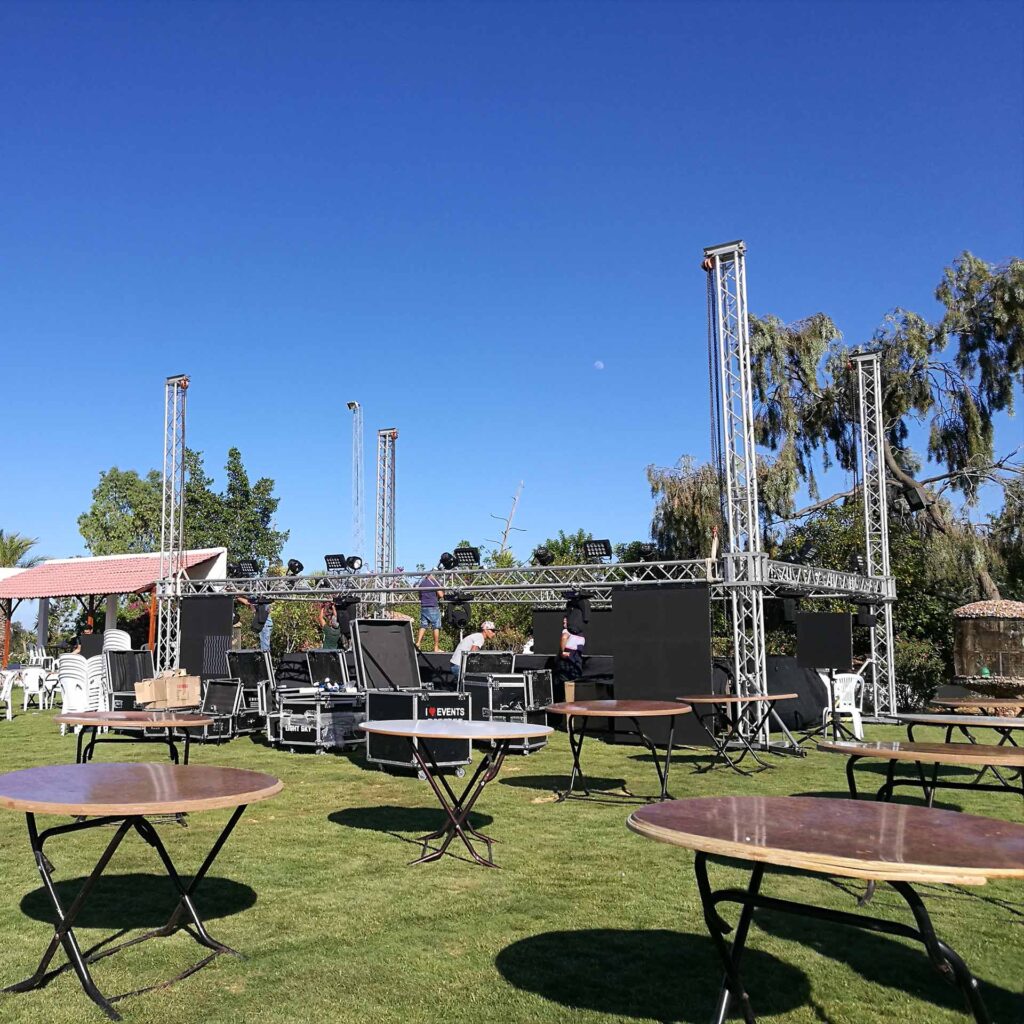
During Installation: 5 Critical Steps to Get Right
Most LED screen-related accidents occur during the installation phase, rather than during the event itself. Follow these five rules to keep your crew safe and ensure the screen performs perfectly.
① Protect the Corners—Always
The corners of LED display cabinets are the most vulnerable to damage during handling. LED diodes are extremely fragile under pressure; even a minor bump can lead to dead pixels or malfunctions on the day of the event. Treat every corner as if it were already a damaged component.
② Unpack Slowly and Keep Level
When removing cabinets from their shipping cases, move slowly and ensure they remain level. Tilting the cabinets or applying excessive force can cause their surfaces to rub against the shipping cases—a type of damage that is entirely avoidable.
③ Route cables through the designated mounting holes
When connecting power and signal cables between cabinets, route them through the built-in mounting holes rather than leaving them loose or haphazardly placed. This simple step ensures a cleaner, more professional installation and reduces cable wear and tear over time.
④ Do not cut corners on auxiliary equipment.
Your trusses, brackets, or rigging points must be capable of supporting the full weight of the screen—”sturdy enough” is not sufficient. Load-bearing capacity, structural rigidity, and stability are all critical to the safety of your audience. If you are unsure, consult a professional rigger to inspect the setup.
⑤ Ensure all cabinet connections are locked before lifting the screen.
An LED wall is assembled from individual cabinets. If even a single connection point is not properly locked, a panel could detach under load—with potentially dangerous consequences. Check every connection point, and then check them again.
A quick rule of thumb: if any component feels loose while the screen is on the ground, it will only get worse once it’s hoisted into the air. Make all necessary adjustments while the equipment is still on the ground.
After the event: Pack up with care
The show is over—but a sloppy teardown can cause more damage than the event itself. Take your time and proceed with caution.
① Organize cables before moving the cabinets
Before packing, coil your power and signal cables separately. Tangled or poorly coiled cables can damage connectors—you’ll thank yourself at the next event.
② Keep cabinets away from moisture and heat sources
Store equipment in a dry, climate-controlled environment. Moisture can corrode connectors, while high temperatures can damage the LED diodes. Neither of these issues can be excused by the fact that the equipment “looked fine when it was packed.”
③ Place modules back into their storage positions carefully.
Gently set each LED module into its designated storage slot—never toss or drop them in. Foam padding can only provide protection if items are placed into it with care. ④ Perform a quick visual inspection before storage
Examine each cabinet for bent corners, cracked modules, or damaged connectors. Mark any damage immediately so you don’t discover it the next time you go to work.
💡 Five minutes spent packing equipment carefully can extend the lifespan of an LED screen by years.
Installation Methods for Rental LED Displays: Hanging (Rigging) vs. Stacking
Before choosing a method, ask yourself these four questions:
What are the wind conditions at the venue—especially if it’s outdoors?
How high does the bottom of the screen need to be for the audience to see it clearly?
Does the venue already have overhead trusses or a support structure?
How long will the screen be on display—a few hours, or several days?
Your answers will point you toward one of the following two methods.
4.1 Method 1: Hanging (Rigging)
The screen is suspended from above—attached to overhead trusses, a ceiling grid, a crane, or a similar structure. Think of it as a “flying” screen.
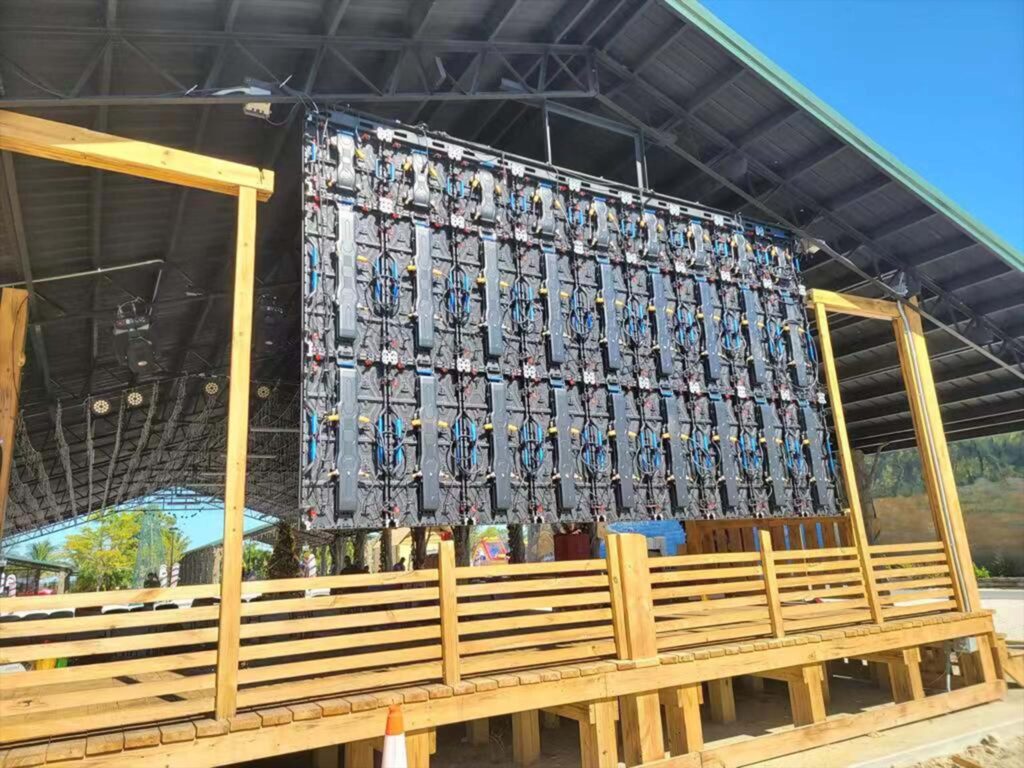
Best for: Indoor events, concerts, and stage productions where height and visual impact are crucial.
Screen size limits: Typically up to a maximum of 6m × 10m.
Why choose this method:
An elevated position ensures clear visibility for a large audience.
It looks impressive—especially for indoor shows.
Allows for rapid deployment if the rigging infrastructure is already in place.
Watch out for:
1. Wind. A hanging screen can sway; this movement creates dynamic loads that can quickly lead to structural issues. If a screen is to be set up outdoors for a week or longer, using ground-based scaffolding for support is a safer option.
2. Rigging equipment must be absolutely reliable. When a screen is suspended above people’s heads, there is no room for cutting corners.
4.2 Method 2: Stacking (Ground-Supported)
The screen is placed on the ground and kept upright and stable through multiple points of support. The entire weight is directed downward rather than upward.
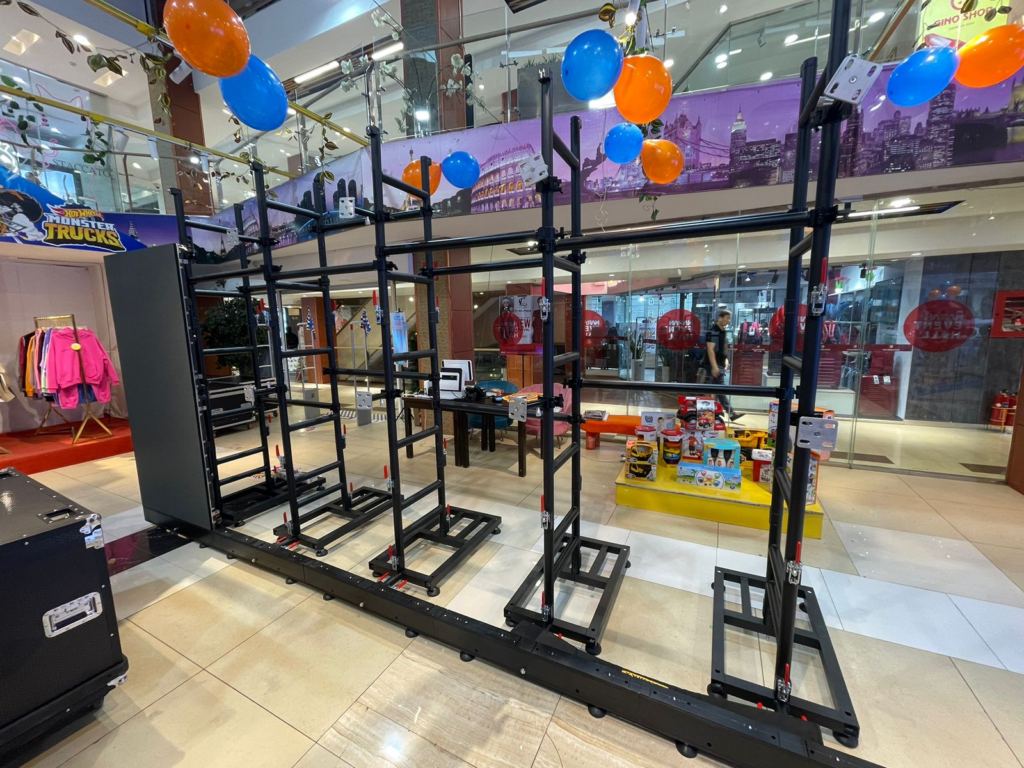
Best for: Outdoor events, long-term installations, or venues that lack overhead rigging points. Why choose this approach:
1. Greater stability in windy conditions.
2. No overhead rigging structure required.
3. Better suited for long-term installations.
Things to consider:
1. If the bottom of the screen needs to be positioned high above the ground, a large ground-support truss structure will be required—which entails more time and higher costs to set up.
2. In such cases, if the venue permits, suspending (flying) the screen is usually the simpler option.
Both methods have their own pros and cons; neither is inherently better than the other. The right choice depends on the venue, the audience, the schedule, and the environment. Once these factors are clear, the decision usually becomes straightforward.
💡 Still undecided? Try sharing your venue layout and event details with your LED supplier. A good supplier will be able to tell you exactly which solution is best—even before conducting a site survey.
The key to a successful LED display rental and installation lies in three things: thorough preparation, the correct installation method, and careful handling. Get these right, and your display will perform perfectly—every single time, for every single event.